containerization-and-devops
Experiment 3: Deploying Web Applications with Docker
Objective
This experiment demonstrates how to containerize a Python Flask web application. The process includes writing a Dockerfile, building a container image, and mapping ports to access the application from a local browser.
Project Structure
The project directory Flask-container contains the following essential files:
- app.py
- requirements.txt
- Dockerfile
Procedure
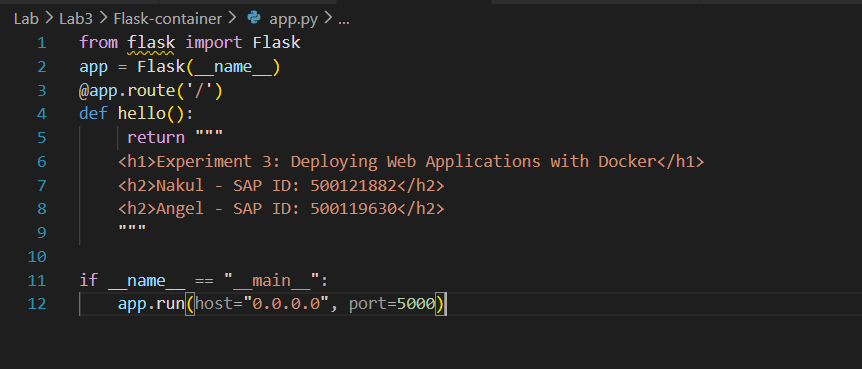
Step 1: Create the Flask Application (app.py)
Below is the screenshot of the Flask application code:
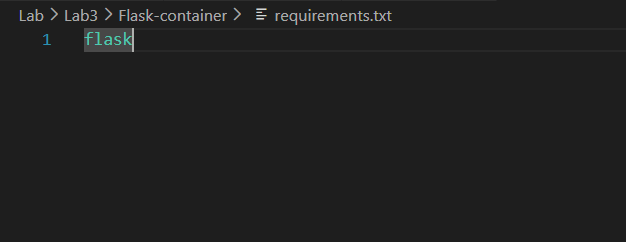
Step 2: Define Dependencies (requirements.txt)
Screenshot of the requirements file:
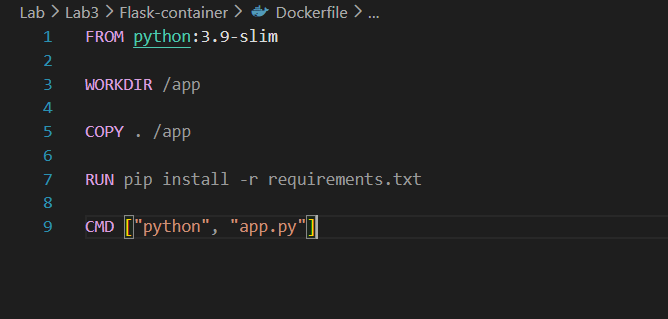
Step 3: Create the Dockerfile
Screenshot of the Dockerfile configuration:
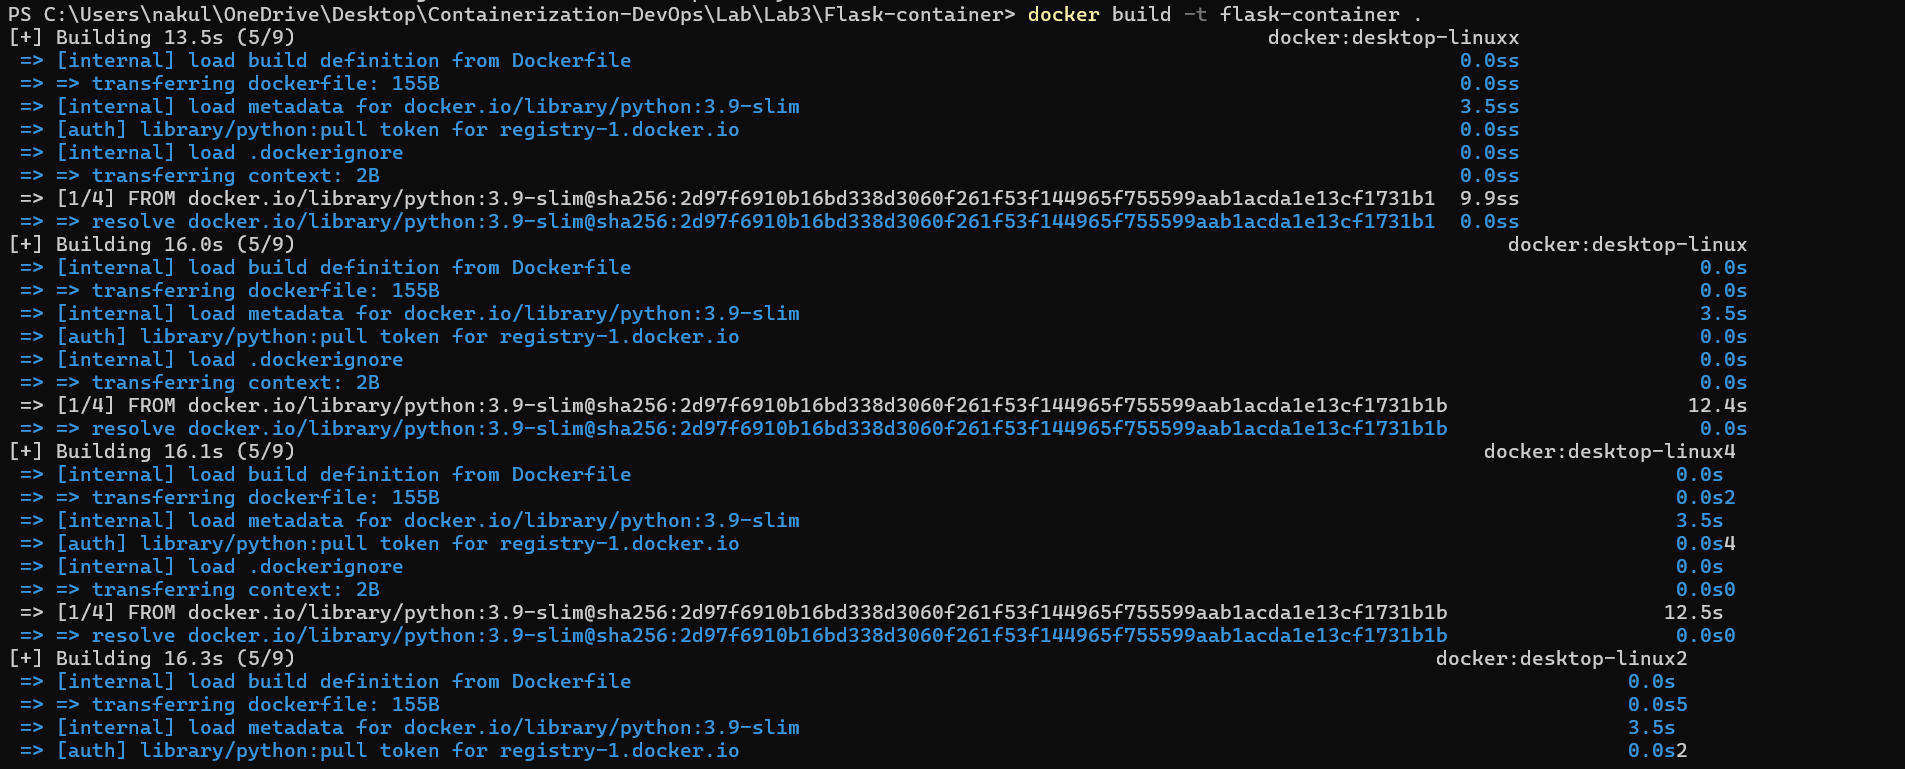
Step 4: Build the Docker Image
Command Used:
docker build -t flask-container .
Screenshot of the Docker build process:
Step 5: Run the Docker Container
Command Used:
docker run -d -p 8080:5000 flask-container
Explanation: - 8080 → Host machine port\
- 5000 → Flask app running inside container
Screenshot of the docker run command:

Step 6: Verify the Running Container
Command Used:
docker ps
Screenshot of the docker ps output:

Step 7: Access the Web Application
Open in browser:
http://localhost:8080
Screenshot of the web application running in the browser:
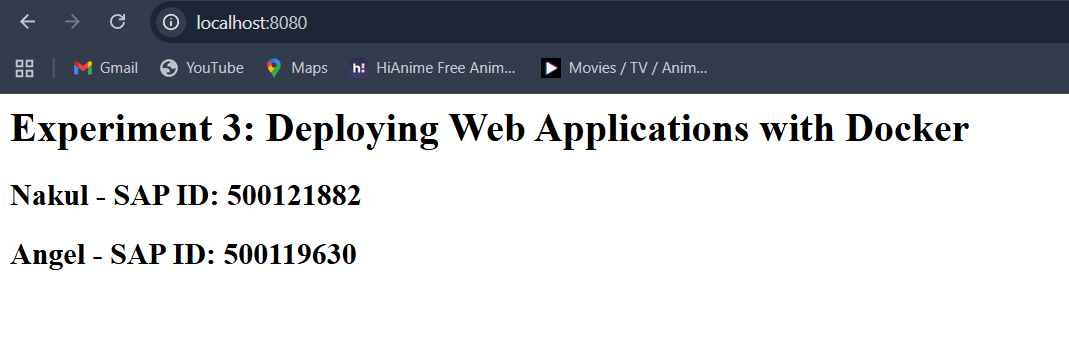
Result
The Flask web application was successfully containerized and deployed. The Docker image was built successfully, the container ran without errors, and the application became accessible through the mapped host port.
Conclusion
Docker simplifies the deployment process by bundling the application with its runtime environment. This ensures consistent execution across different systems and eliminates environment-related issues.