containerization-and-devops
Class 11 - Introduction to Kubernetes & Local Setup (Hands-on)
In this class, we covered the fundamentals of Kubernetes, why it is needed for container orchestration, its core architecture, and how to set up a local Kubernetes cluster using k3d and kubectl on WSL.
1. Why Kubernetes?
Modern applications use multiple services (backend, frontend, database, cache, message queues, monitoring). Without orchestration, managing these becomes difficult:
| Problem | Description |
|---|---|
| Startup Order | Services must start in correct sequence |
| Scaling | Handle traffic spikes dynamically |
| Crash Recovery | Restart failed containers automatically |
| Networking | Containers need to discover and talk to each other |
| Rolling Updates | Deploy new versions without downtime |
Kubernetes automates all of this — deployment, scaling, self-healing, service discovery, load balancing, and rolling updates.
2. Core Architecture
Control Plane (Master)
| Component | Role | |—|—| | API Server | Entry point for all commands | | Scheduler | Decides where containers run | | Controller Manager | Maintains desired state (e.g., keeps 3 replicas running) | | etcd | Key-value store for cluster data |
Worker Nodes
| Component | Role | |—|—| | Kubelet | Communicates with control plane | | Container Runtime | Runs containers (Docker, containerd) | | Kube Proxy | Handles networking |
3. Local Kubernetes Tools
| Tool | Description | Best For |
|---|---|---|
| Minikube | Single-node cluster | Beginners |
| k3s | Lightweight Kubernetes | Edge/IoT |
| k3d | k3s inside Docker | Fast local dev |
| kind | Kubernetes in Docker | CI/CD testing |
Our stack: WSL + kubectl + k3d — lightweight, fast, and runs entirely inside Docker.
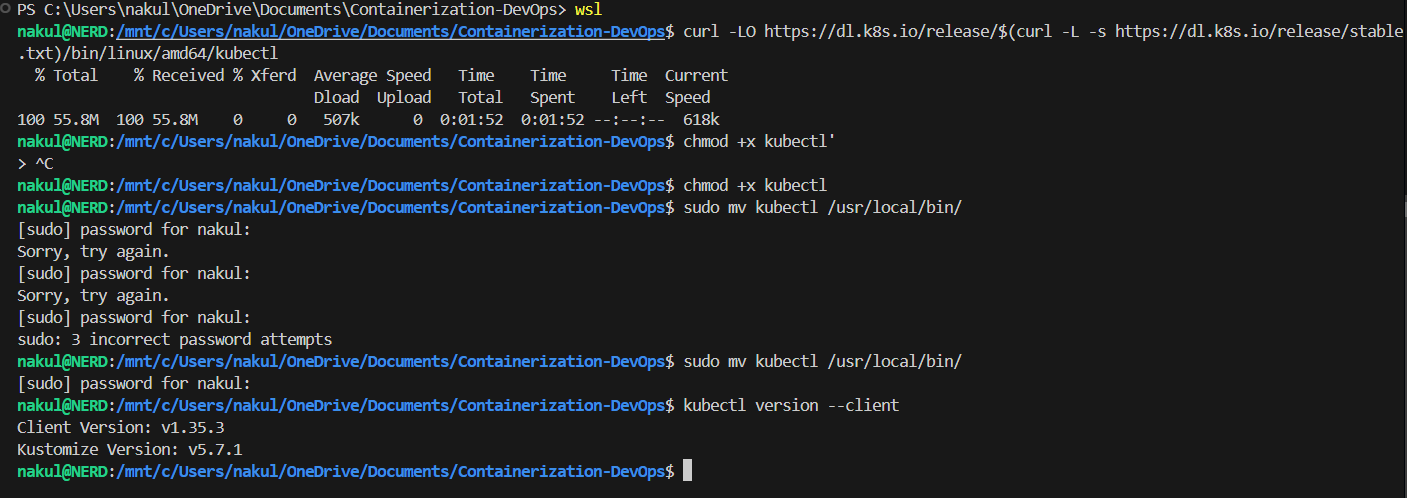
4. Installing kubectl
Download, make executable, and move to path:
curl -LO https://dl.k8s.io/release/$(curl -L -s https://dl.k8s.io/release/stable.txt)/bin/linux/amd64/kubectl
chmod +x kubectl
sudo mv kubectl /usr/local/bin/
kubectl version --client
Terminal Output
5. Installing k3d
curl -s https://raw.githubusercontent.com/k3d-io/k3d/main/install.sh | bash
k3d version
Terminal Output

6. Creating a Kubernetes Cluster
k3d cluster create mycluster
kubectl get nodes
k3d creates a single-node cluster running k3s inside Docker. The kubectl get nodes command shows the node with STATUS: Ready.
Terminal Output

7. Running a Pod
A Pod is the smallest deployable unit in Kubernetes. Here we run a standalone nginx pod:
kubectl run nginx --image=nginx
kubectl get pods
Terminal Output

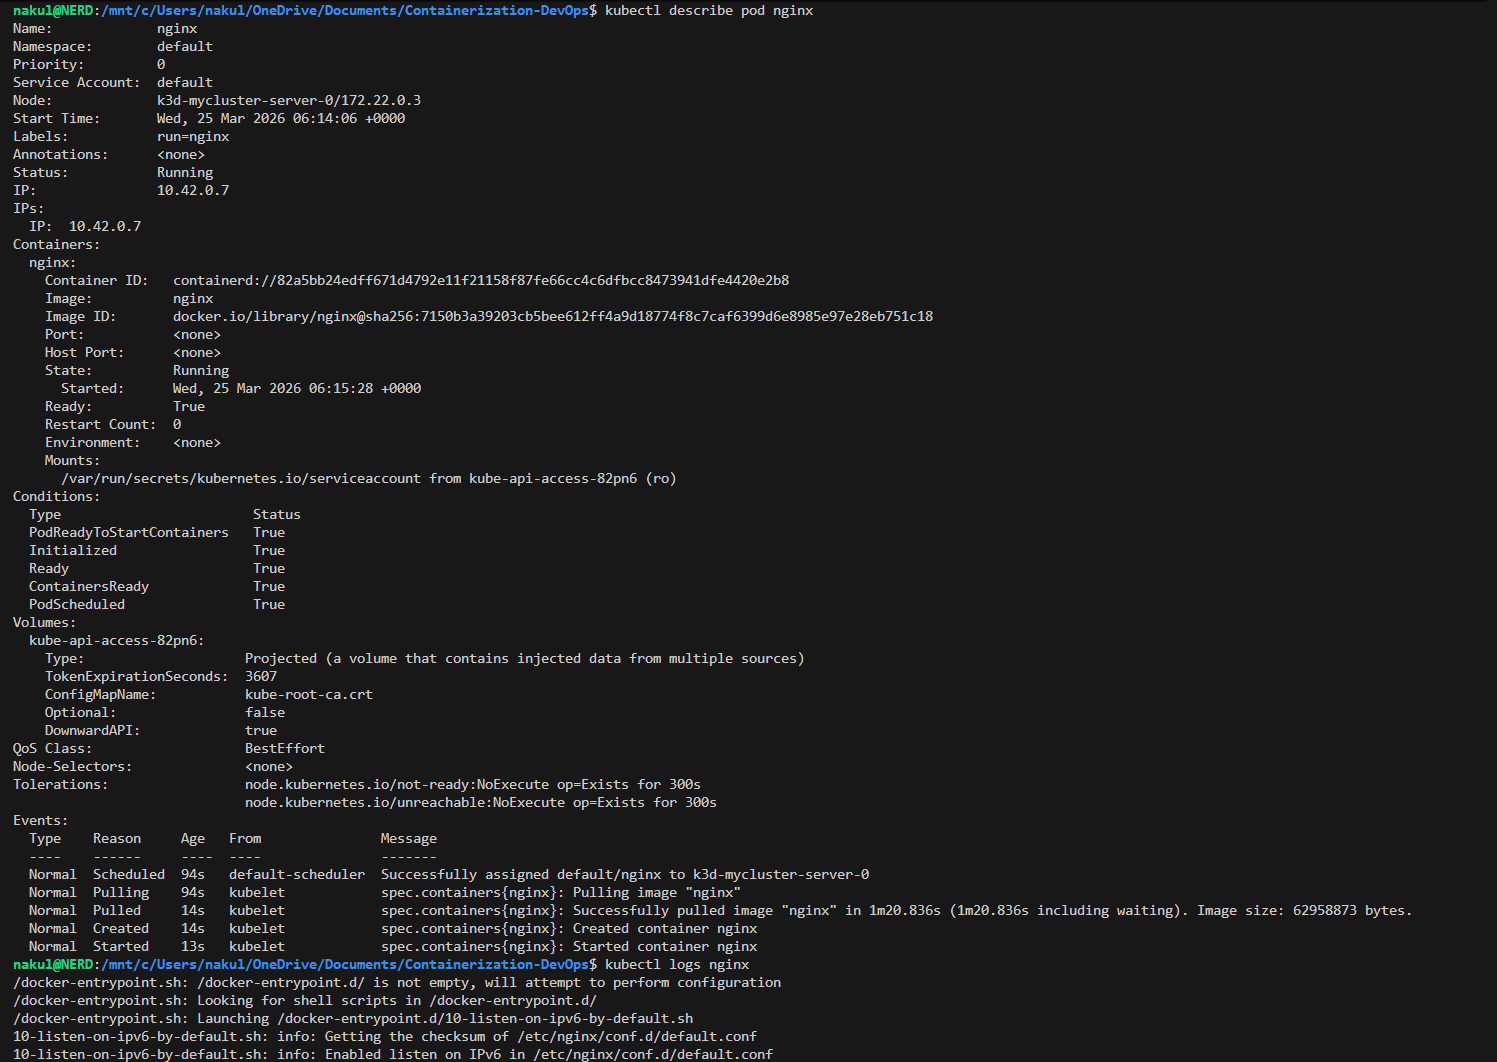
8. Inspecting a Pod
Use describe to see full details and logs to see container output:
kubectl describe pod nginx
kubectl logs nginx
describeshows: Name, Namespace, Node, IP, Status, Conditions, Eventslogsshows the container’s stdout (nginx startup logs)
Terminal Output
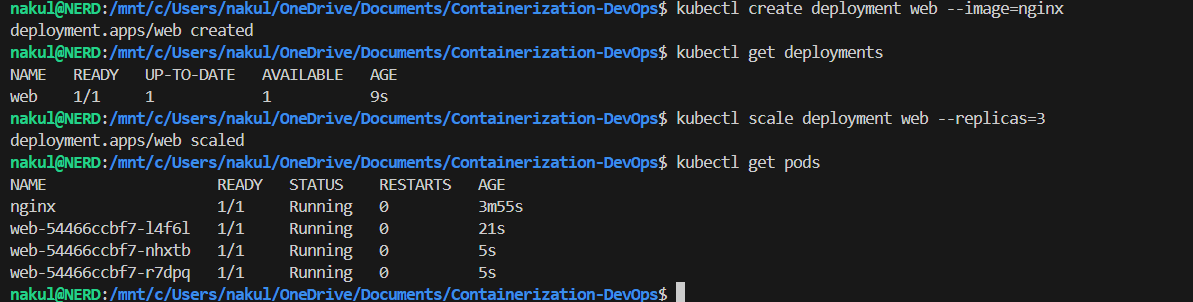
9. Creating and Scaling a Deployment
A Deployment manages replicas and rolling updates. Here we create one and scale to 3 replicas:
kubectl create deployment web --image=nginx
kubectl get deployments
kubectl scale deployment web --replicas=3
kubectl get pods
After scaling, we can see 4 pods total — 1 standalone nginx pod + 3 web-xxxxx deployment pods.
Terminal Output
10. Exposing the Application
Expose the deployment as a NodePort service to make it accessible:
kubectl expose deployment web --port=80 --type=NodePort
kubectl get services
Terminal Output

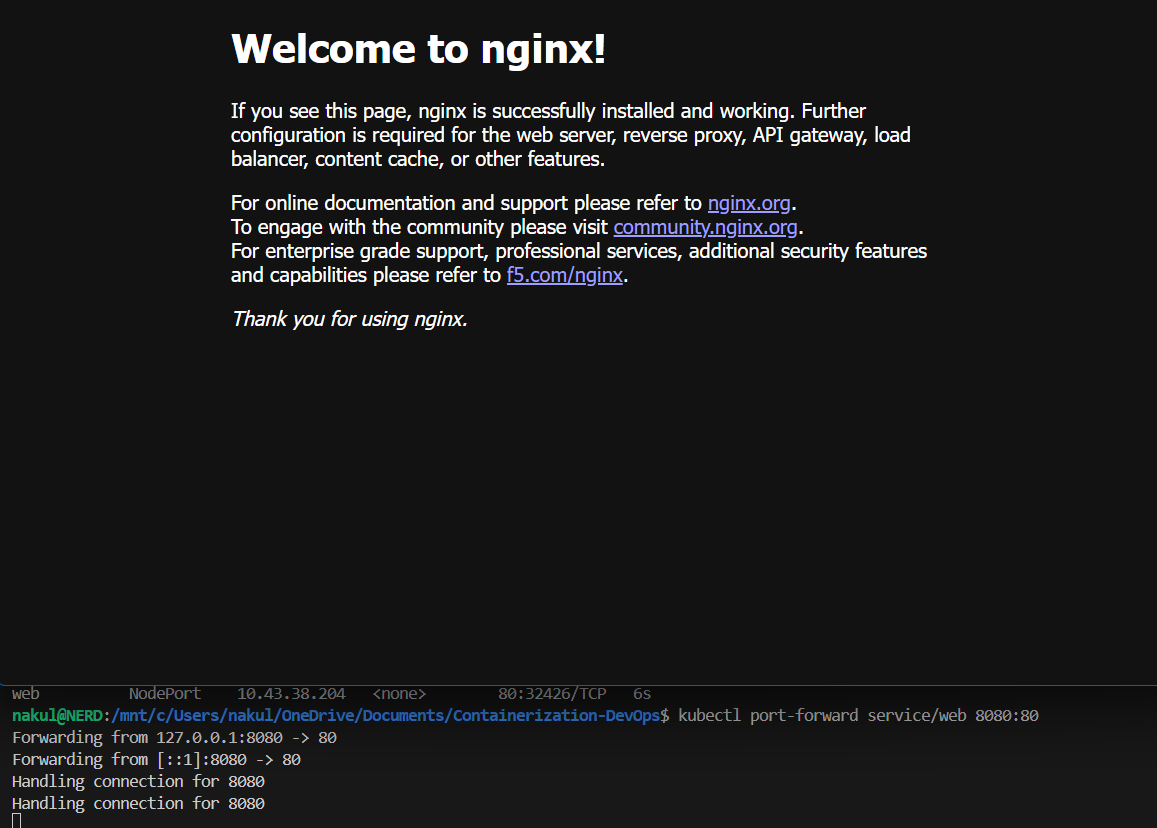
11. Port Forwarding & Browser Access
Use port-forward to access the service from localhost:
kubectl port-forward service/web 8080:80
Open browser at http://localhost:8080 — the Nginx welcome page confirms the app is running!
Terminal Output & Browser
12. Exploring kubeconfig
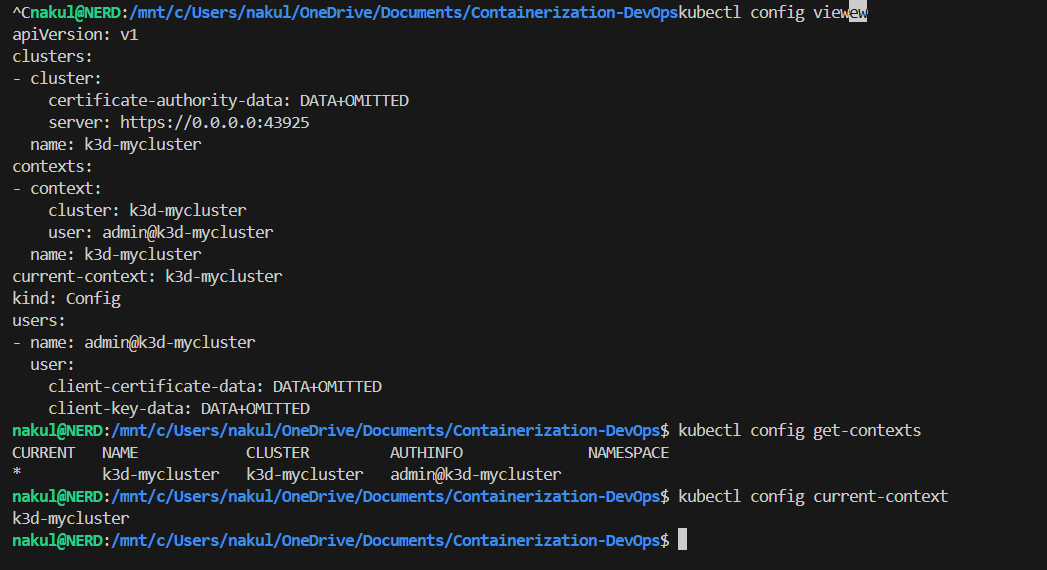
The kubeconfig file (~/.kube/config) contains cluster connection details. It has 3 parts:
# 1. Clusters — server address & CA
clusters:
- name: k3d-mycluster
  cluster:
    server: https://0.0.0.0:43925

# 2. Users — credentials
users:
- name: admin@k3d-mycluster
  user:
    client-certificate-data: DATA+OMITTED

# 3. Contexts — links cluster + user
contexts:
- name: k3d-mycluster
  context:
    cluster: k3d-mycluster
    user: admin@k3d-mycluster

current-context: k3d-mycluster
kubectl config view
kubectl config get-contexts
kubectl config current-context
How kubectl Works Internally
kubectl command
  → reads kubeconfig
    → finds current context
      → gets cluster address + user credentials
        → connects to API server
          → executes command
Terminal Output
13. Cleanup
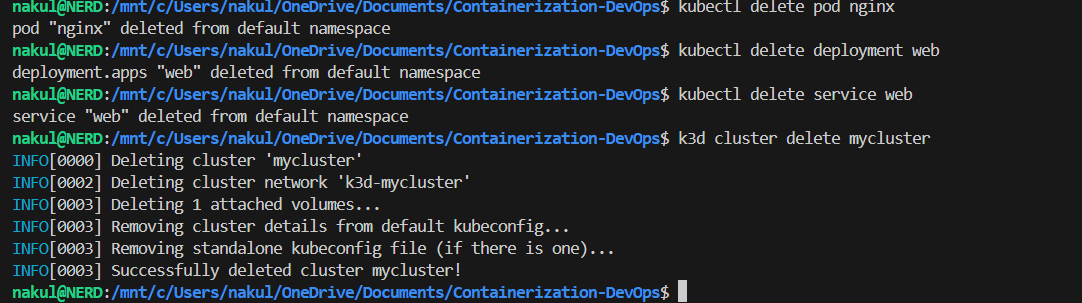
Delete all resources and destroy the cluster:
kubectl delete pod nginx
kubectl delete deployment web
kubectl delete service web
k3d cluster delete mycluster
Terminal Output
Summary
| Concept | What We Did |
|---|---|
| kubectl | Installed CLI tool to interact with Kubernetes |
| k3d | Created lightweight local cluster inside Docker |
| Pod | Ran a standalone nginx container |
| Deployment | Created managed replicas with scaling |
| Service | Exposed the app with NodePort |
| Port Forward | Accessed nginx from browser at localhost:8080 |
| kubeconfig | Explored cluster, user, and context configuration |
| ← Previous Class | Theory Index |