containerization-and-devops
Class 4 - Multistage Docker Build (Hands-on)
Objective
- To understand the difference between Single-stage and Multistage Docker builds
- To reduce Docker image size using Multistage builds
- To compare final image sizes practically
Environment Used
- Host OS: Windows
- Linux Environment: WSL (Ubuntu 24.04)
- Container Platform: Docker Engine
- Terminal: WSL Ubuntu
- Language Used: C
Experiment Execution with Screenshots
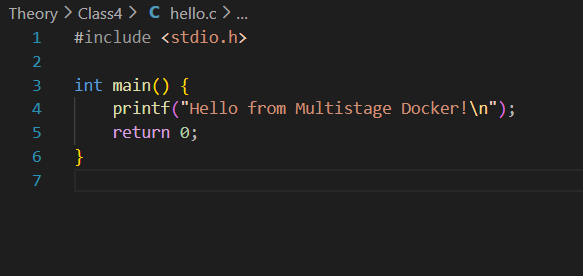
Step 1: Create C Program (hello.c)
C program prints a simple message.
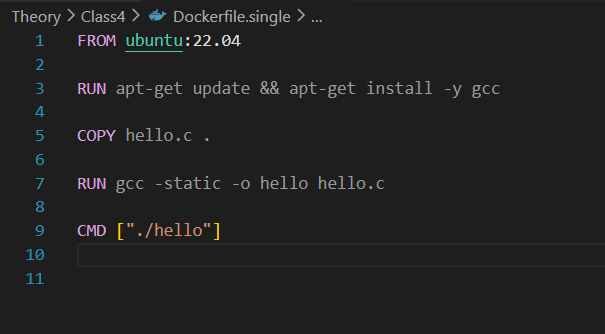
Step 2: Create Single Stage Dockerfile
Dockerfile installs GCC and builds the C program inside Ubuntu image.
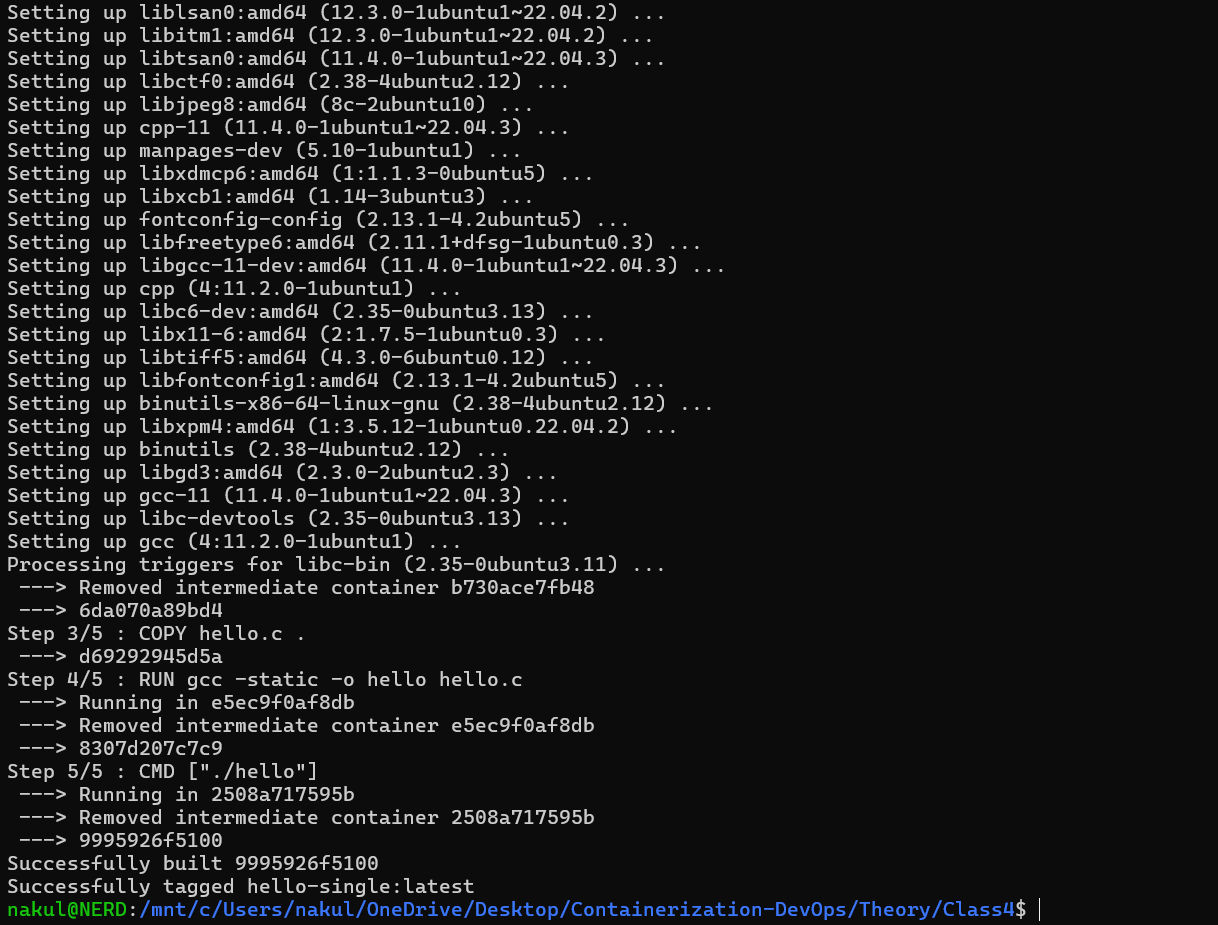
Step 3: Build Single Stage Image
Command executed:
docker build -t hello-single -f Dockerfile.single .

Step 4: Check Docker Images (Single Stage)
Command executed:
docker images
Step 5: Run Single Stage Container
Command executed:
docker run hello-single

Step 6: Create Multistage Dockerfile
Second Dockerfile uses builder stage and final scratch stage.

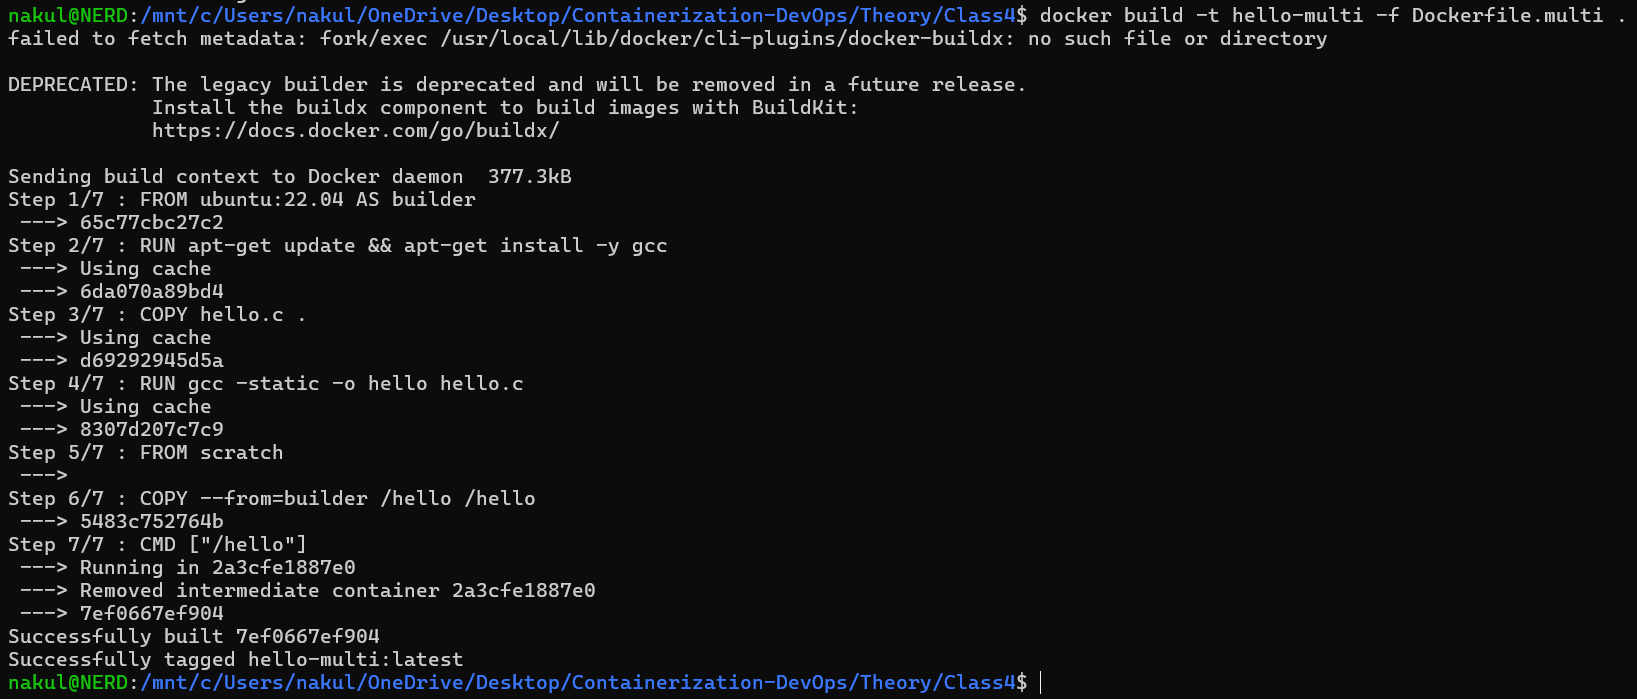
Step 7: Build Multistage Image
Command executed:
docker build -t hello-multi -f Dockerfile.multi .
Step 8: Compare Image Sizes
Command executed:
docker images

Step 9: Run Multistage Container
Command executed:
docker run hello-multi

Result
Single-stage Docker image size was significantly larger because it contained Ubuntu base image and GCC compiler.
Multistage Docker build produced a very small image by copying only the compiled binary into a minimal scratch image.
Learning Outcome
- Understood how Docker builds layers
- Learned the concept of build stage and final stage
- Compared image sizes practically
- Learned how Multistage builds optimize production images